Adjusting Brightness and Contrast
Brightness and contrast is a really great feature found within Photoshop because it allows you to make an image either really drastic or really subdued. Depending upon what type of feel you want your project to have, you can alter the brightness and contrast to obtain different effects. It is important to note the difference between brightness and contrast. By altering the brightness of an image, you are altering the overall brightness of both the lights and the darks found within the image. By altering the contrast, you are creating either greater or lesser difference between the darks and lights of the image.
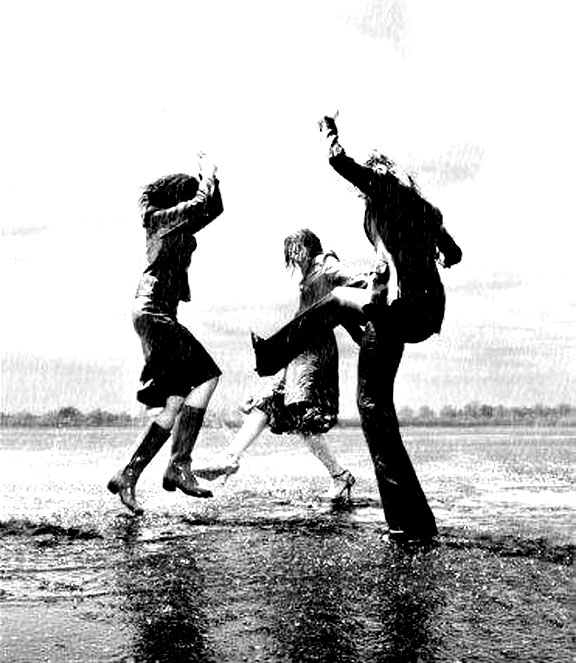
For the purpose of this exercise, we will first convert the image to B&W.
This will better show you the drastic effects obtained by altering an
image’s brightness/contrast.
Converting to Black and White
Step 1: On the menu bar, go to “Image” ->
“Adjustments” -> “Desaturate”
This removes all pigmentation from the image.
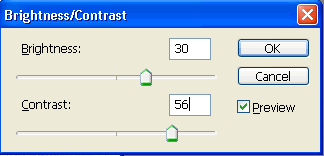
Altering the Brightness and Contrast
Step 1: On the menu bar, go to “Image” -> “Adjustments” -> “Brightness/Contrast”
Step 2: Observe how the image changes as you move the “brightness” arrow to the left and to the right.
Step 3: In the box, type in 30.
Step 4: Observe how the image changes as you move the “contrast” arrow to the left and to the right.
Step 5: In the contrast box type in 56.
Step 6: Press “Okay”.
Step 7: Save your changes.