Adjusting the color of a picture can help with the over all appearance of the document. Often, when a picture is scanned, the colors will become distorted or 'off.' Adjusting the color can help the picture regain its original colors, or create a whole new look for the picture.
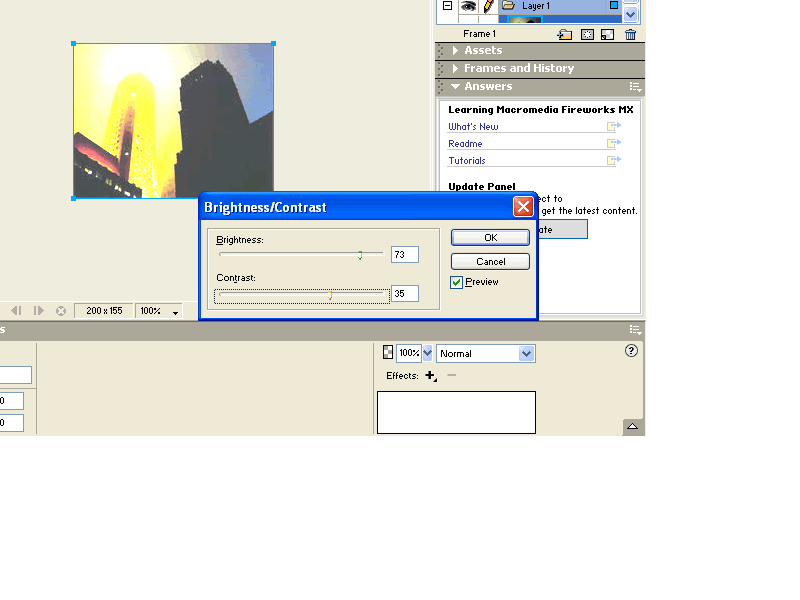
Step #1. Using the Menu at the top of the screen, please click on the Filters selection. The item that desired is 'adjust color'. Choose the Brightness/contrast option. This option lets you control the over all brightness of the picture, as well how much distinction the picture will have. For now, put the brightness to 73, and the contrast to 35.
Step
#2. Go to Edit and undo filter image to get back to the original
picture. Again using the Filters menu, go into adjust color and pic Hue and
Saturation.
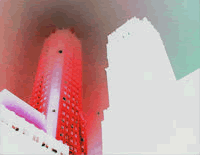
A . Hue: changing the hue will add more or less of a primary color to the picture.
Please enter the number 127 into the box provided for color. The blue hues of
the picture will be brought out.
B. Saturation: changing the saturation is almost like blurring the pictures.
Where the lines and colors change will appear, or blend together more with the
saturation numbers. Just leave the saturation alone.
C. Lightness: this will show how bold, or light the picture will be. Leave the
lightness levels where they currently are.
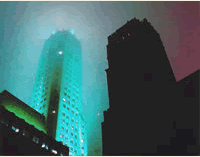
Step #3. Inverting the picture is similar to seeing a negative of the picture. As before, click on Filters, drag down to adjust color, and click on the Invert option. Then, go to edit at the top of the page and click undo.
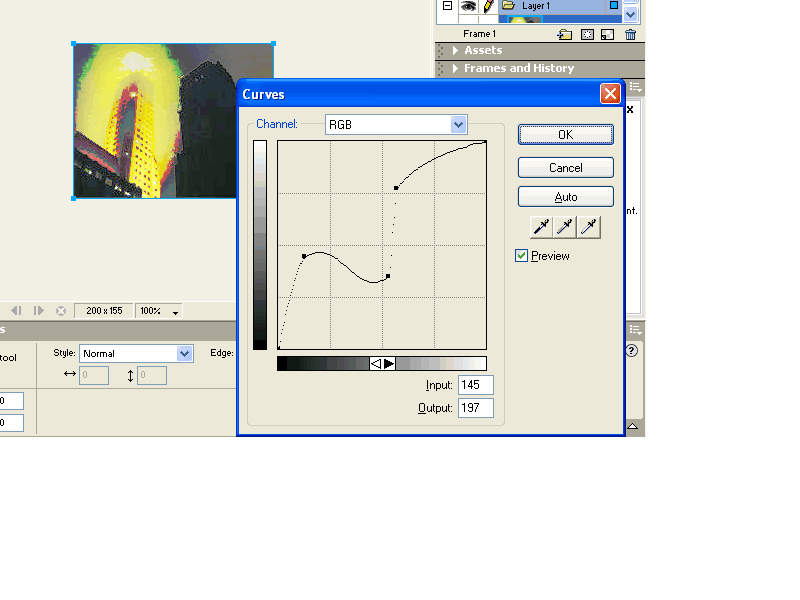
Step #4. Curving the picture. In the Adjust menu selecting the curving option will allow you to play with the color, hue, saturation, and brightness of the picture all at the same time. Use the diagonal line to create points on the map where colors can be curved, try out a few different schemes!